Are you tired of spending a fortune on expensive shampoos that don’t even work? Do you want to get healthier hair without the use of harmful chemicals? Then let me introduce you to the world of homemade shampoo bars.
Shampoo bars are the new trend in hair care, and for a good reason. They are natural, eco-friendly, and cost-effective. Making your own shampoo bar is easier than you think, and it can lead to healthier, shinier hair without the need for plastic bottles or harsh chemicals.
Key Takeaways:
- Shampoo bars are a natural, eco-friendly alternative to traditional liquid shampoos.
- Making your own shampoo bar is easy and cost-effective.
- Shampoo bars can lead to healthier, shinier hair without the use of harsh chemicals.
Why Choose Shampoo Bars?
As someone who has made the switch from traditional liquid shampoos to shampoo bars, I can attest to the many benefits they offer. Not only are they better for your hair and scalp, but they also have a positive impact on the environment.
One of the main advantages of using shampoo bars is their natural ingredients. Many commercial shampoos contain harsh chemicals that can strip your hair of its natural oils and lead to dryness and damage. Shampoo bars, on the other hand, are often made with all-natural ingredients like coconut oil, shea butter, and essential oils that nourish and protect your hair.
Another benefit of shampoo bars is their eco-friendly packaging. Most liquid shampoos come in plastic bottles that end up in landfills or oceans, contributing to pollution and harm to wildlife. Shampoo bars typically come in minimal, recyclable packaging or no packaging at all, reducing waste and supporting a more sustainable lifestyle.
Lastly, shampoo bars are often more cost-effective than traditional liquid shampoos. A single bar can last for months, which means you’ll save money in the long run and reduce your environmental footprint.
So if you’re looking to make a positive change for your hair and the planet, consider giving shampoo bars a try. With natural ingredients, eco-friendly packaging, and long-lasting results, they’re a smart choice for both you and the environment.
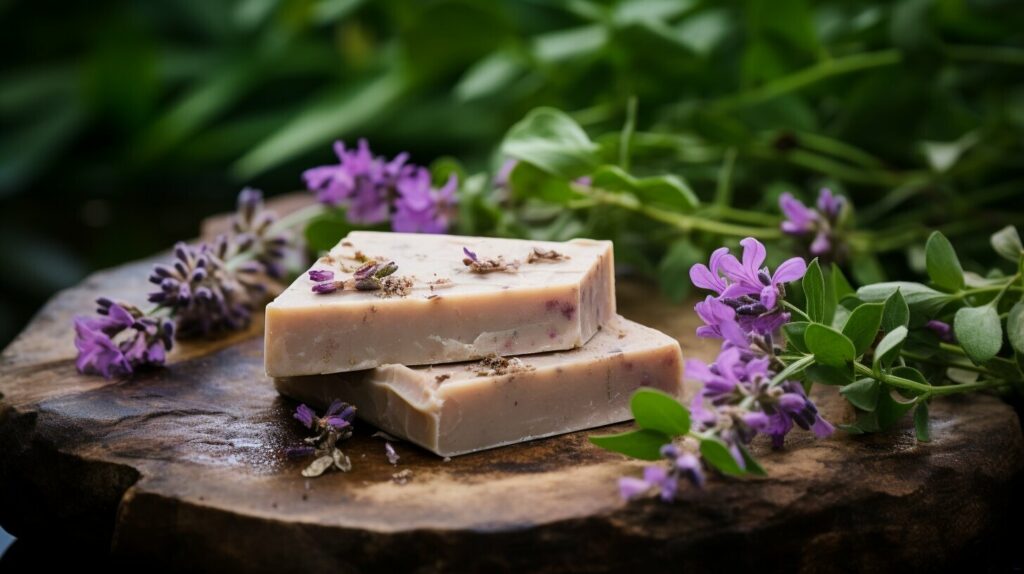
Essential Ingredients for Homemade Shampoo Bars
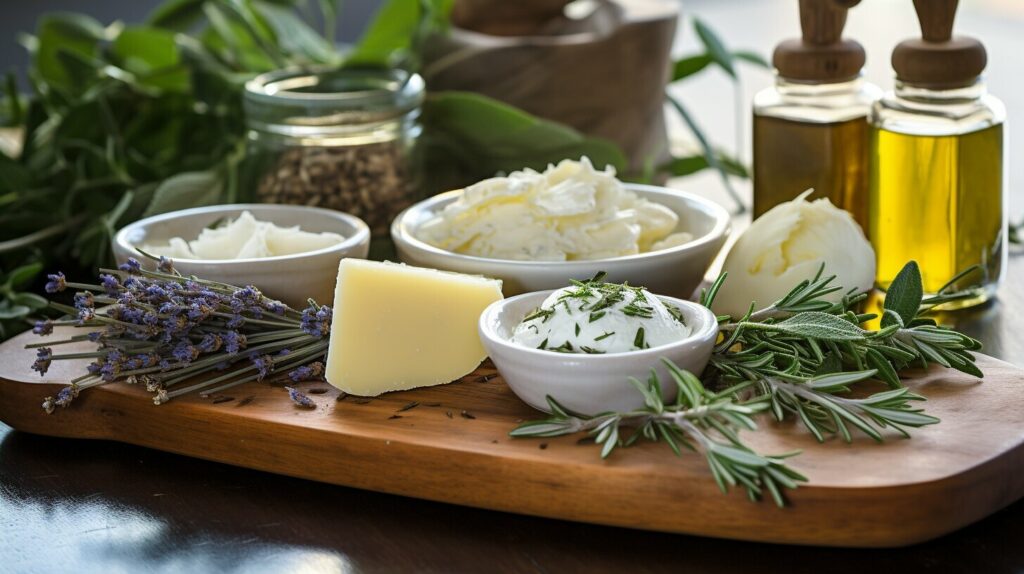
When it comes to making your own shampoo bar, using the right ingredients is crucial. Not only will they help clean and nourish your hair, but they will also ensure that your bar is eco-friendly and free of harsh chemicals. Here are the essential ingredients you will need:
| Ingredient | Benefits |
|---|---|
| Coconut Oil | Moisturizes and nourishes hair, creates a rich lather |
| Olive Oil | Softens and strengthens hair, promotes scalp health |
| Castor Oil | Conditions and moisturizes hair, prevents breakage |
| Shea Butter | Provides deep moisture, soothes and protects the scalp |
| Sodium Hydroxide | Essential for saponification, the process that turns oils into soap |
| Water | Used to dissolve the sodium hydroxide and activate saponification |
These ingredients are the foundation of any good shampoo bar recipe, but you can also customize it with additional ingredients depending on your hair type and needs. For example, adding tea tree oil can help with dandruff and itchy scalp, while rosemary oil can promote hair growth and thickness.
Tip: When purchasing your ingredients, opt for organic and fair-trade options whenever possible. This ensures that your shampoo bar is not only good for your hair, but also for the planet and the people who produce the ingredients.
Step-by-Step Shampoo Bar Recipe
Now that you have all the necessary ingredients, it’s time to make your own shampoo bar! The following step-by-step recipe is easy to follow and customizable for your specific hair needs.
Ingredients:
| Ingredient | Amount |
|---|---|
| Coconut oil | 4 oz |
| Olive oil | 4 oz |
| Shea butter | 2 oz |
| Castor oil | 1 oz |
| Lye | 2.2 oz |
| Water | 5 oz |
| Essential oils (optional) | A few drops |
Instructions:
- Wear gloves and protective eyewear to prevent any contact with the lye.
- In a well-ventilated area, slowly add the lye to the water, stirring constantly until dissolved. This mixture will become hot and emit fumes, so avoid inhaling the vapors.
- In a separate bowl, melt the coconut oil, olive oil, shea butter, and castor oil together until combined.
- Allow both mixtures to cool to around 100-110°F.
- Slowly pour the lye-water mixture into the bowl of melted oils, stirring constantly until well combined.
- If using essential oils for scent, add a few drops at this point and stir well.
- Pour the mixture into a silicone soap mold or a lined cardboard box, smoothing out the top with a spatula.
- Cover the mold with a towel or dishcloth and let it sit undisturbed for at least 24 hours.
- After 24 hours, remove the soap from the mold and cut into bars.
- Allow the bars to cure for 4 to 6 weeks in a cool, dry, well-ventilated area before using.
And that’s it! Making your own shampoo bar is that simple. Not only will you have a natural, eco-friendly alternative to commercial shampoos, but you’ll also save money in the long run.
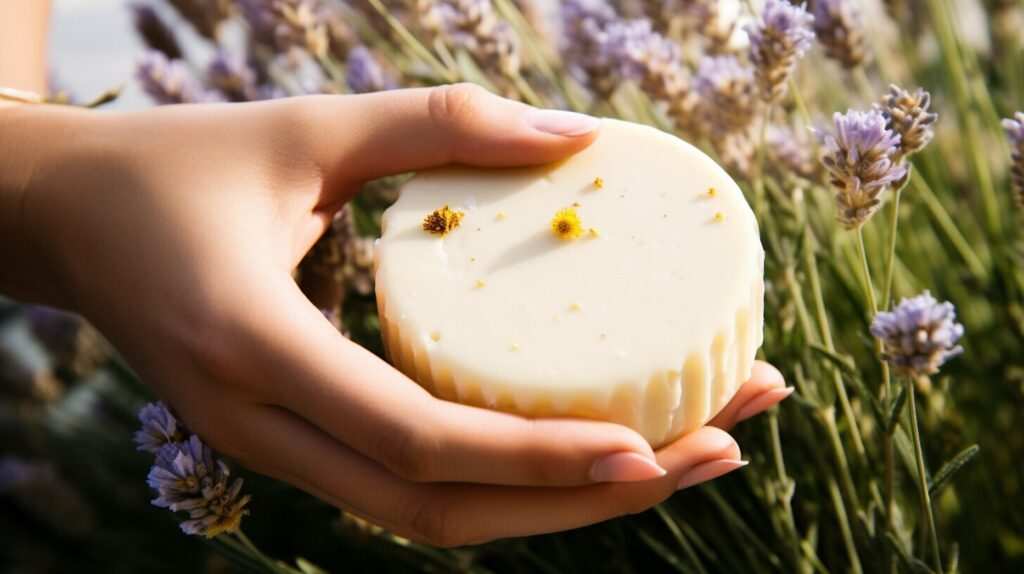
Customizing Your Shampoo Bar
One of the best things about making your own shampoo bar is the ability to customize it to fit your individual needs. There are several ways to do this, from adding different scents to adjusting the formula for specific hair types.
Adding Scents: To give your shampoo bar a pleasant fragrance, you can add essential oils. Lavender, peppermint, and tea tree oil are popular choices, but feel free to experiment with other scents as well. Be sure to choose high-quality, pure oils to avoid any potential skin irritations.
Adjusting Formula for Different Hair Types: If your hair is oily, try adding more castor oil to the recipe. For dry hair, consider using more shea butter or coconut oil. If you have dandruff, try adding a few drops of tea tree oil, which has antifungal and antibacterial properties.
Herbal Extracts: Adding herbal extracts can provide additional benefits for your hair. For example, chamomile extract can soothe an itchy scalp, while rosemary extract can stimulate hair growth. You can infuse the shampoo bar with herbs by steeping them in hot water and adding the liquid to your recipe.
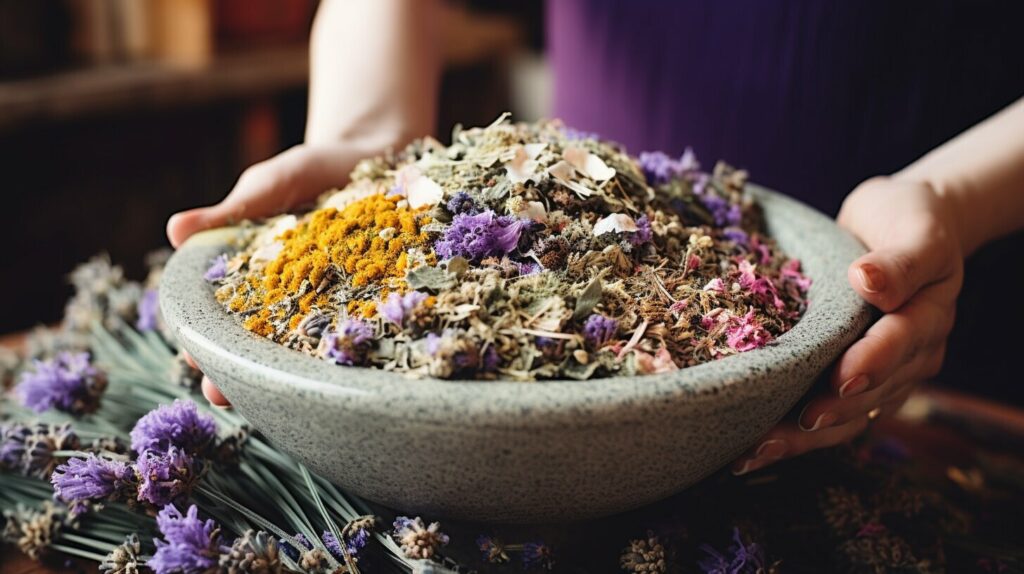
Experiment with different combinations until you find the perfect formula for your hair.
Using and Storing Your Homemade Shampoo Bar
Now that you have made your own shampoo bar, it’s important to know how to use and store it properly to get the most out of it.
| Using Your Shampoo Bar: | Storing Your Shampoo Bar: |
|---|---|
| 1. Wet your hair thoroughly. | 1. After use, store your shampoo bar in a dry place to prevent it from becoming mushy or disintegrating. |
| 2. Rub the shampoo bar between your palms to create a lather, or rub the bar directly onto your scalp. | 2. You can store your shampoo bar on a soap dish with drainage holes, or in a muslin bag. |
| 3. Massage the lather into your scalp and hair, just like you would with a liquid shampoo. | 3. Avoid storing your shampoo bar in a humid area, as this can cause it to dissolve faster. |
| 4. Rinse your hair thoroughly with warm water. | 4. If you are traveling, wrap your shampoo bar in a beeswax wrap or plastic bag to prevent it from making a mess. |
| 5. Repeat as needed, depending on the length and thickness of your hair. | 5. Remember that a little goes a long way with shampoo bars, so don’t overuse it. |
Using a shampoo bar can take some getting used to, but once you find the right technique for your hair, you may never go back to liquid shampoo again.
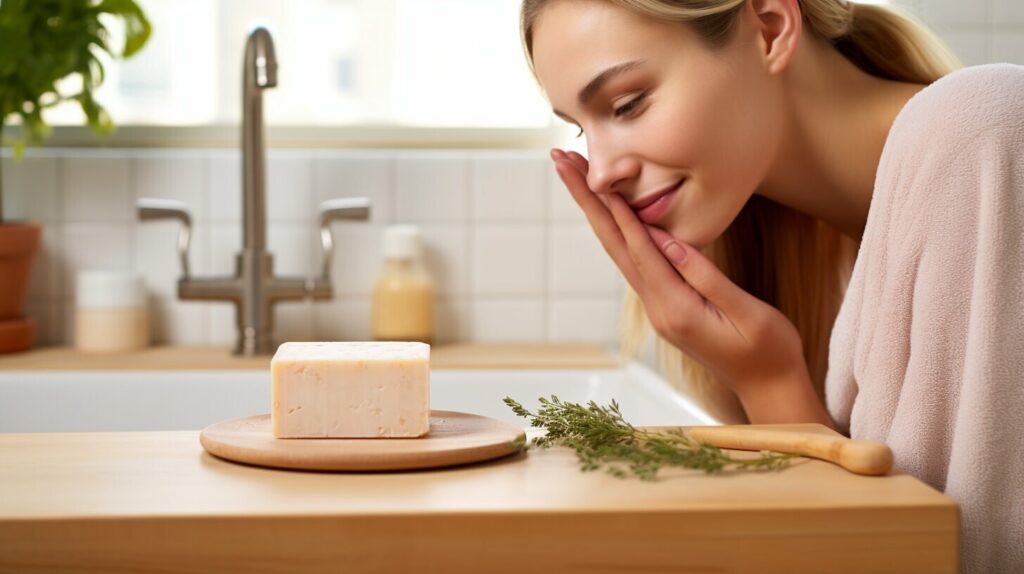
Benefits of Homemade Shampoo Bars
Making your own shampoo bar has numerous benefits for both your hair and the environment. By using natural and organic ingredients, you are avoiding harsh chemicals that can strip and damage your hair. These gentle ingredients promote healthier hair by nourishing and balancing its natural oils.
Not only are shampoo bars healthier for your hair, but they are also better for the environment. Liquid shampoos typically come in plastic bottles, which contribute to the ever-growing plastic waste problem. Shampoo bars, on the other hand, often come in eco-friendly packaging and can last longer than liquid shampoos, reducing the amount of waste generated.
Another benefit of homemade shampoo bars is the cost-effectiveness. While the initial investment in ingredients may seem high, the amount used per batch can last for several months. This will save you money in the long run compared to buying liquid shampoos frequently.
Switching to homemade shampoo bars is a small yet impactful way to promote healthier hair and a more sustainable lifestyle. Try this easy shampoo bar recipe and experience the benefits for yourself!
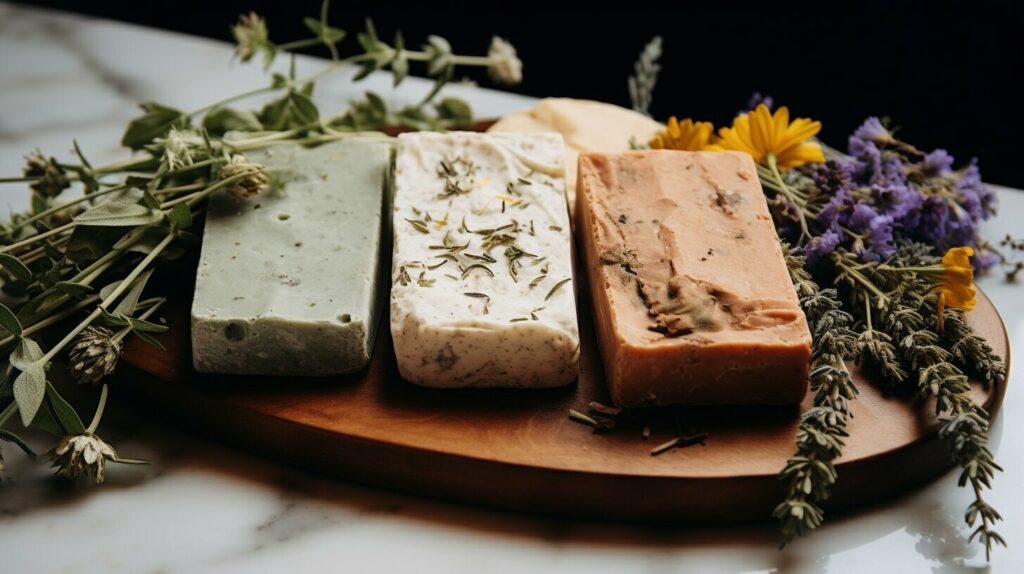
Transitioning to Shampoo Bars
Transitioning from traditional liquid shampoos to shampoo bars might seem like a daunting task, but with a few simple tips, you can make the switch smoothly.
Start Slow: Begin by using the shampoo bar once a week and gradually increase the frequency as your hair adapts to the new formula. This will give your hair time to adjust to the natural ingredients and avoid any potential buildup.
Follow the Instructions: Proper usage and storage are key to ensuring the longevity and effectiveness of your homemade shampoo bar. Be sure to lather well and rinse thoroughly for best results.
Customize the Formula: Adjust the formula to fit your specific hair type and needs. Add or modify ingredients such as essential oils or herbal extracts to create your ideal shampoo bar.
Remember, using a shampoo bar is not only beneficial for your hair, but also for the environment. By making the switch, you are reducing plastic waste and supporting a more sustainable lifestyle.
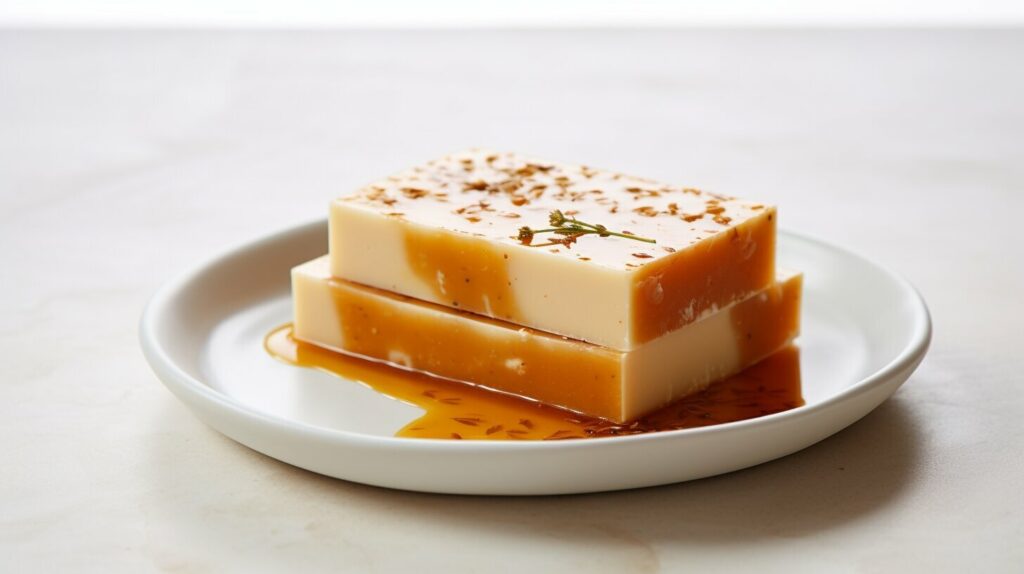
With a little patience and experimentation, you will soon find that homemade shampoo bars are a simple and effective way to achieve healthier, more vibrant hair.
Troubleshooting Common Issues
While making your own shampoo bar is a simple process, you may encounter some issues along the way. Here are some common problems and their solutions:
| Issue | Solution |
|---|---|
| The shampoo bar is not lathering well. | Make sure you are using the correct water-to-lye ratio, as too much lye can inhibit lathering. Additionally, try rubbing the bar between your hands for a longer period of time before applying to your hair. |
| The shampoo bar is drying out my hair. | Adjust the recipe by adding more oils or decreasing the amount of lye. You can also try using a vinegar rinse after washing to restore pH balance to your hair. |
| The shampoo bar is leaving a residue on my hair. | This may be a result of using too much of the shampoo bar at once. Try using less and rinsing more thoroughly. You can also add a clarifying agent such as bentonite clay to the recipe next time you make it. |
Remember, don’t be discouraged if you encounter some issues when making your first shampoo bar. The more you practice, the better you will become at creating the perfect formula for your hair type and needs.

Conclusion
And there you have it, your very own homemade shampoo bar! Making your own shampoo bar is not only an easy DIY project, but it also has numerous benefits for both your hair and the environment.
By using natural and organic ingredients, you can avoid harmful chemicals and promote healthier hair. Plus, you can reduce plastic waste by skipping the need for plastic shampoo bottles.
Don’t be intimidated by the thought of making your own shampoo bar. The recipe is simple and customizable to suit your hair type and desired scent. Plus, you’ll save money in the long run!
If you’re still hesitant to make the switch, remember that transitioning to shampoo bars may take some time, but it’s worth it in the end. And if you run into any troubles, our troubleshooting section has got you covered.
So why not give it a try? Your hair and the environment will thank you.

